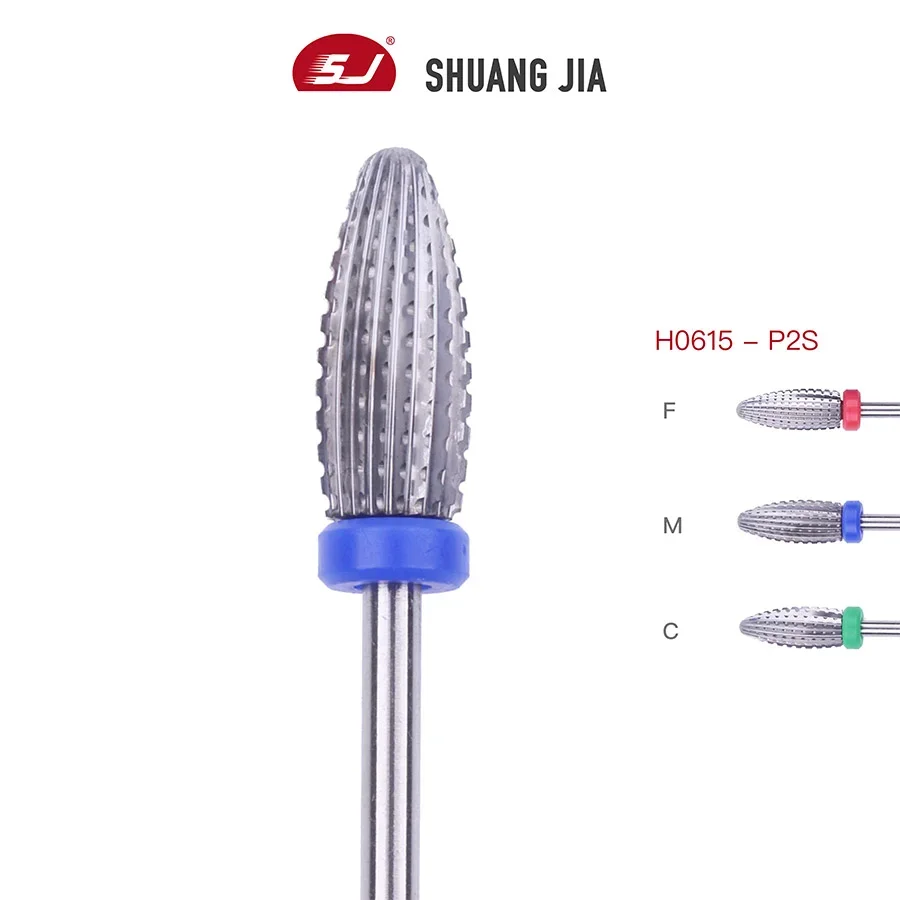
Maintaining and cleaning your carbide nail bits is essential for ensuring their longevity and performance. Carbide nail bits are a popular choice among nail technicians due to their durability and ability to quickly and efficiently remove acrylic and gel nail enhancements. However, without proper care and maintenance, these bits can become dull and ineffective, leading to a less-than-perfect nail enhancement application. In this article, we will discuss the steps you can take to properly clean and maintain your carbide nail bits, so you can continue to provide your clients with flawless nail enhancements.
The Importance of Regular Cleaning and Maintenance
Proper cleaning and maintenance of your carbide nail bits is crucial to ensure their longevity and optimal performance. Neglecting this important step can result in dullness, reduced efficiency, and even damage to the bits themselves.
Regularly cleaning your carbide nail bits removes built-up debris, such as acrylic residue or gel polish, which can accumulate during use. This buildup not only affects the sharpness of the bit but also hampers its ability to effectively remove product from the nails. By keeping your bits clean, you'll experience smoother and more precise filing results.
Maintenance goes hand-in-hand with cleaning. After each use, it's essential to inspect your carbide nail bits for any signs of wear or damage. Look out for chipped edges or dents as these can affect their performance and potentially cause harm to clients' nails.
To clean your carbide nail bits properly, start by removing them from the e-file machine if applicable. Use a nylon brush dipped in warm soapy water or specialized bit cleaner to gently scrub away any residue on both sides of the bit surface. Rinse thoroughly under running water before patting dry with a soft cloth or paper towel.
For stubborn stains or hardened product buildup that won't come off with regular cleaning methods, consider using an ultrasonic cleaner specifically designed for nail tools. These devices utilize high-frequency sound waves to dislodge any remaining debris without causing damage to the delicate structure of the bit.
Remember that prevention is key when it comes to maintaining your carbide nail bits' lifespan. Avoid excessive heat exposure and always store them in a designated case or organizer after use – protecting them from potential accidents like dropping or banging against other tools.
By prioritizing regular cleaning and maintenance of your valuable carbide nail bits, you'll not only extend their lifespan but also ensure consistent quality results every time you perform manicures and pedicures on yourself or clients!

Step-by-Step Guide to Cleaning Your Carbide Nail Bits
Step 1: Remove any leftover product
Before you start cleaning your carbide nail bits, it's important to remove any residual product from the surface. This can be done by gently tapping the bit on a clean towel or using a nylon brush to loosen and remove debris.
Step 2: Soak in warm soapy water
Fill a small container with warm soapy water and place your carbide nail bits inside. Let them soak for about 10-15 minutes to help soften any remaining buildup.
Step 3: Scrub gently with a brush
Using a soft-bristled nail brush or an old toothbrush, gently scrub the surface of each bit. Pay special attention to the grooves and edges where dirt and residue tend to accumulate. Avoid using metal brushes as they can scratch or damage the carbide.
Step 4: Rinse thoroughly
Once you're done scrubbing, rinse the bits under running water to remove any soap residue. Make sure all traces of dirt and buildup are completely washed away before proceeding to the next step.
Step 5: Sterilize if necessary
If you want extra cleanliness, especially if you share your tools or work in a salon setting, consider sterilizing your cleaned carbide nail bits. You can use rubbing alcohol or an autoclave machine for this purpose.
That regular cleaning is key to maintaining the longevity and performance of your carbide nail bits.
Tips to extend the life of carbide nail clippers
1. Use Proper Technique: One of the best ways to extend the life of your carbide nail clippers is to use them correctly. Make sure to apply gentle pressure and maintain a steady hand when manicuring your client's nails. Avoid excessive force or strenuous exercise as this may cause unnecessary wear and tear.
2. Clean regularly: Cleaning your carbide nail clippers after each use is crucial to maintaining their performance and longevity. Use a soft brush and warm, soapy water to remove any debris or product buildup from the surface of the drill bit. Be sure to dry it thoroughly before storing.
3. Proper Storage: Proper storage of carbide nail clipper tips is crucial when not in use to prevent damage or dulling. Store them in designated boxes or containers to prevent them from being knocked around or exposed to moisture.
4. Professionally Sharpened: While carbide nail clippers are known for their durability, they eventually lose their sharpness over time. Rather than trying DIY knife sharpening methods, it’s best to leave this task to professionals who have the expertise and tools needed to sharpen your knives accurately without compromising the integrity of the drill bit.
5. Rotate Drill Bits: To evenly distribute wear on multiple drill bits, consider rotating them regularly during salon services. By alternating different sizes or types of carbide nail heads, you can extend their overall life and reduce individual wear and tear.
Remember, proper maintenance plays a vital role in ensuring the long-lasting performance of your carbide nail clippers, while also increasing customer satisfaction with every service!

Conclusion
Proper cleaning and maintenance of carbide nail clippers is essential to ensure their longevity and optimal performance. By following the step-by-step guide outlined in this article, you can easily remove accumulated debris, sanitize your drill bits, and keep them in good condition.
Regular cleaning of carbide nail clippers not only helps maintain their sharpness, but also prevents the risk of cross-contamination or infection. This is a simple but important practice that should be included in every manicurist's daily routine.
Additionally, incorporating some tips for extending the life of your carbide nail clippers can further enhance their durability. Remember to always handle them with care, avoid excessive heat, and store them properly when not in use.
Taking the time to maintain your carbide nail clippers will ultimately extend their lifespan and reduce the need for frequent replacement, saving you money. Plus, you'll enjoy consistently effective results with every manicure or pedicure.
So, give your carbide nail clippers some TLC! Make it part of your salon maintenance routine to keep these powerful tools performing at their best for years to come. Your customers will appreciate the precision and quality that well-maintained carbide provides!


